 Maestro
Lightsaber Version 2.0
Last Updated: 2026-06-18
This is my favorite one yet! Lessons learned from version 1 were applied and I took more photos of the process.
After I finished lightsaber V1, I was left a little dissatisfied. The finish was crude, the saber was too long, and holding it felt awkward. AS soon as I finished the first saber, I started on this one. It took several days and a lot more trial and error, but I really like how it turned out!.
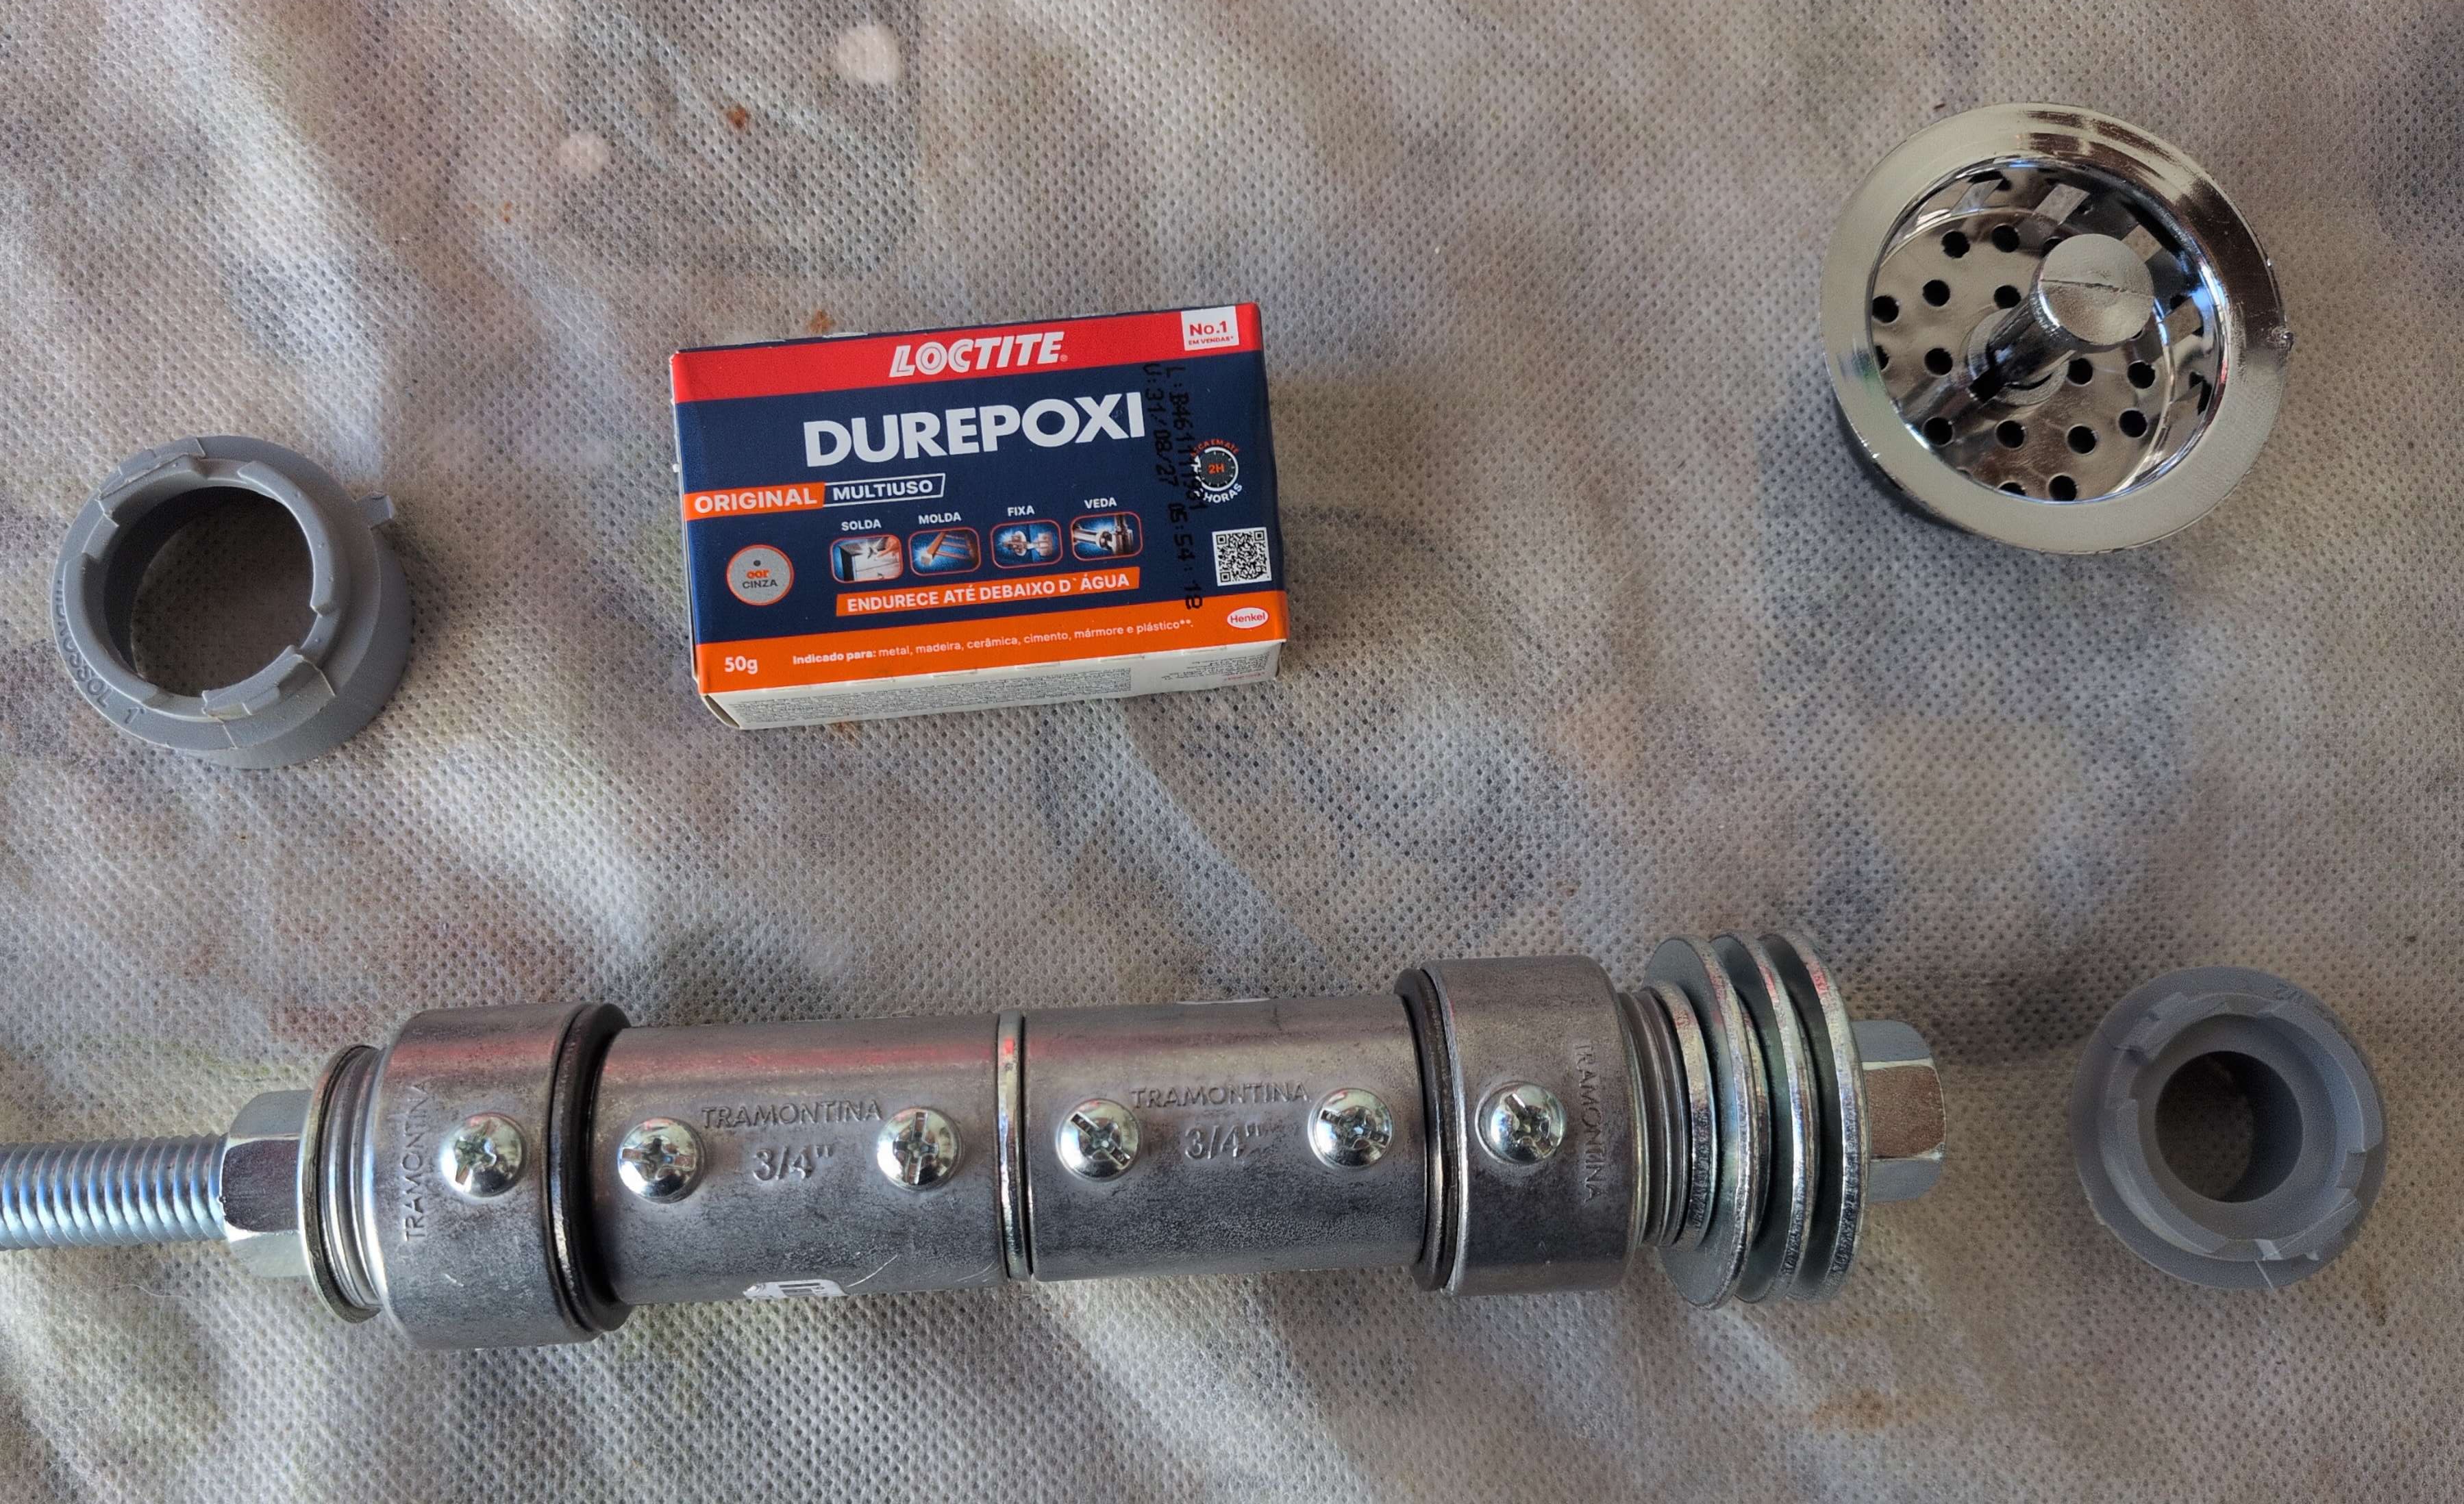
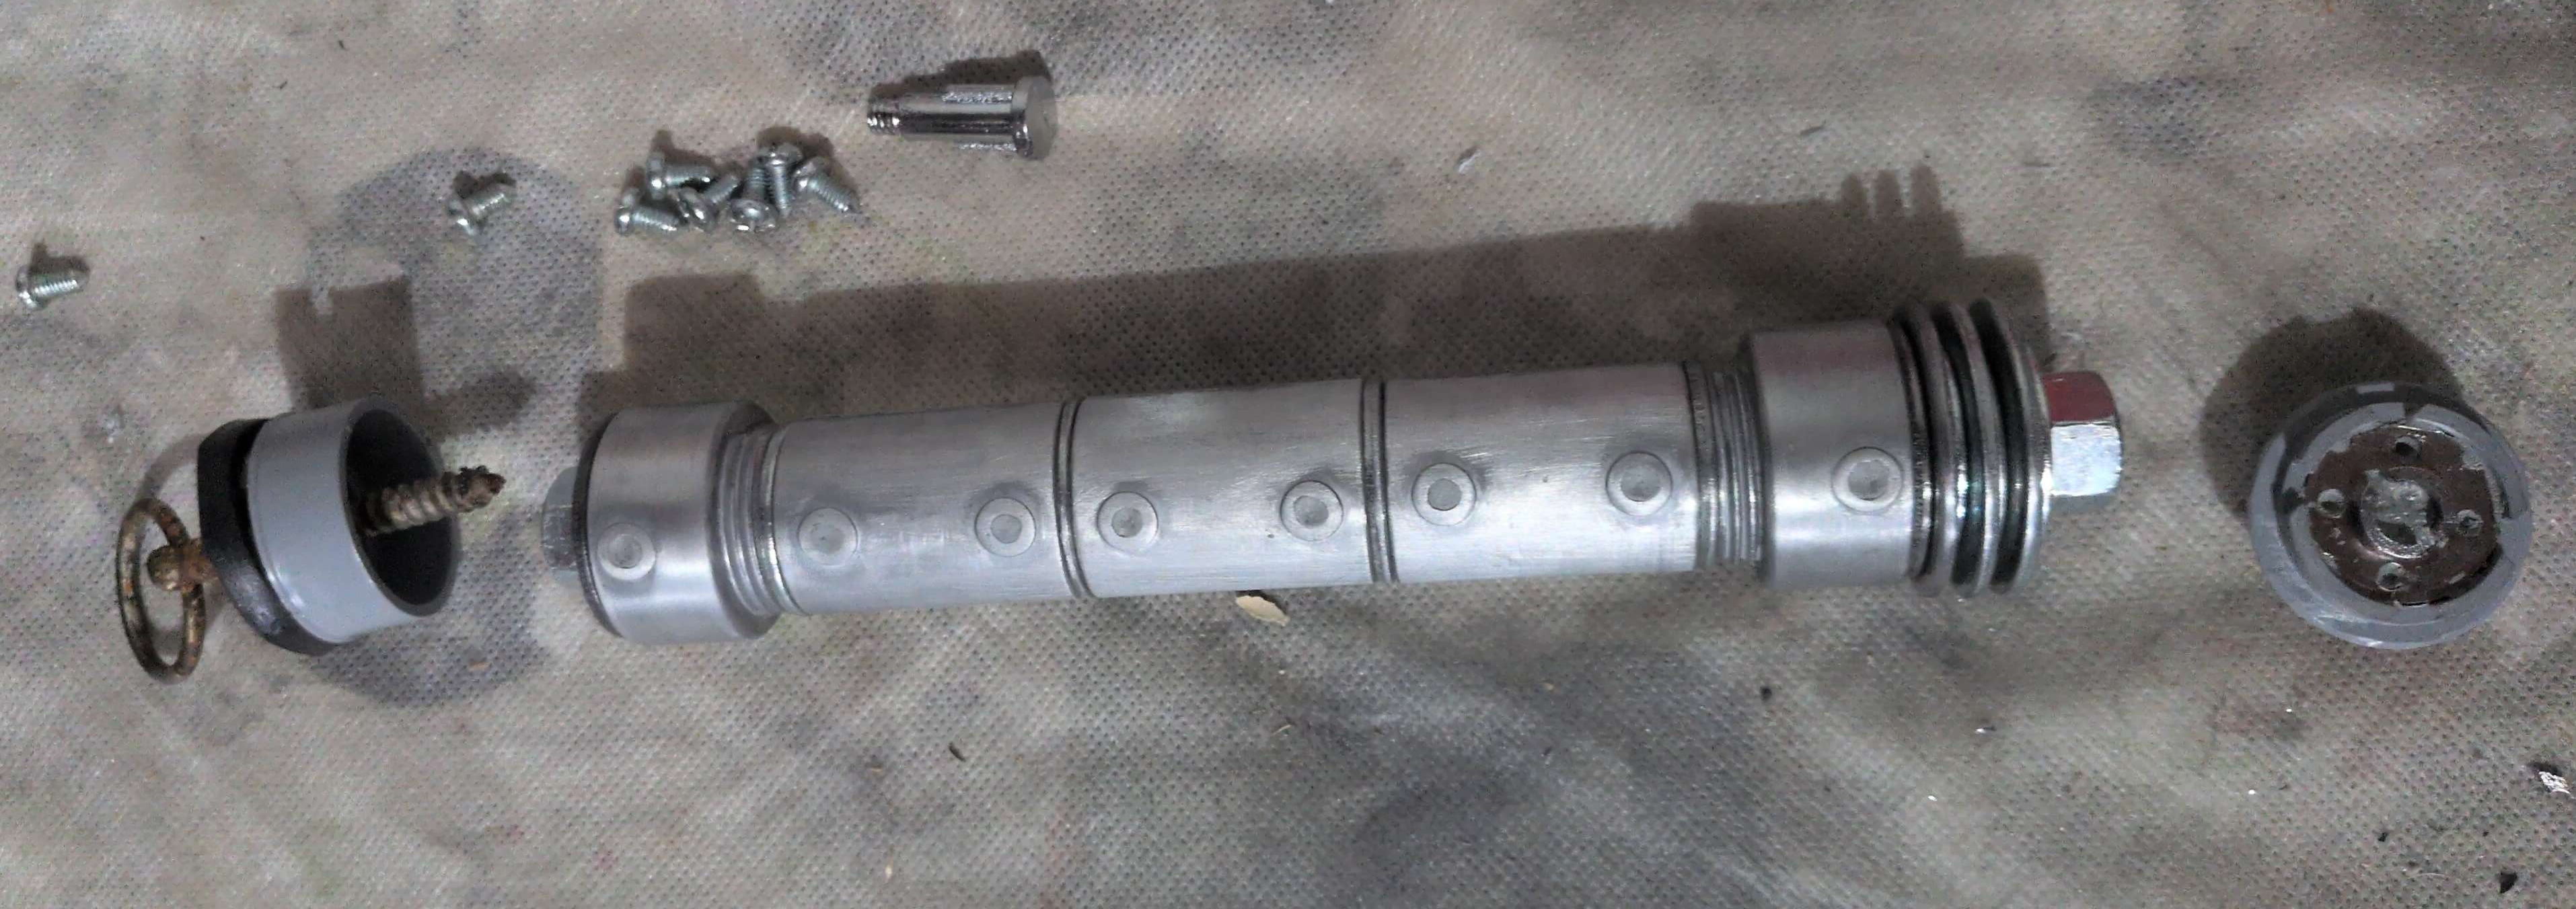
Here is a photo of all the parts I used. I ended up going back to the store to get a third fitting (the ones with two screws in them) as two felt too short. Notice that the hilt is very similar to V1. I had found a sink’s drain pipe that could have worked well as the base to a saber, but I wanted to avoid experimenting too much and feeling the need to make a third saber while here in Brazil.

Removing the screws from the fittings almost ended the project. They were seated tight, and they were starting to strip. My tools are limited to the basic hand tools my father-in-law happens to have, so drilling out stripped screws would have been a major road block. Thankfully, they accepted both phillips and flat head, and I was able to find a wide flat head screwdriver that got them out.
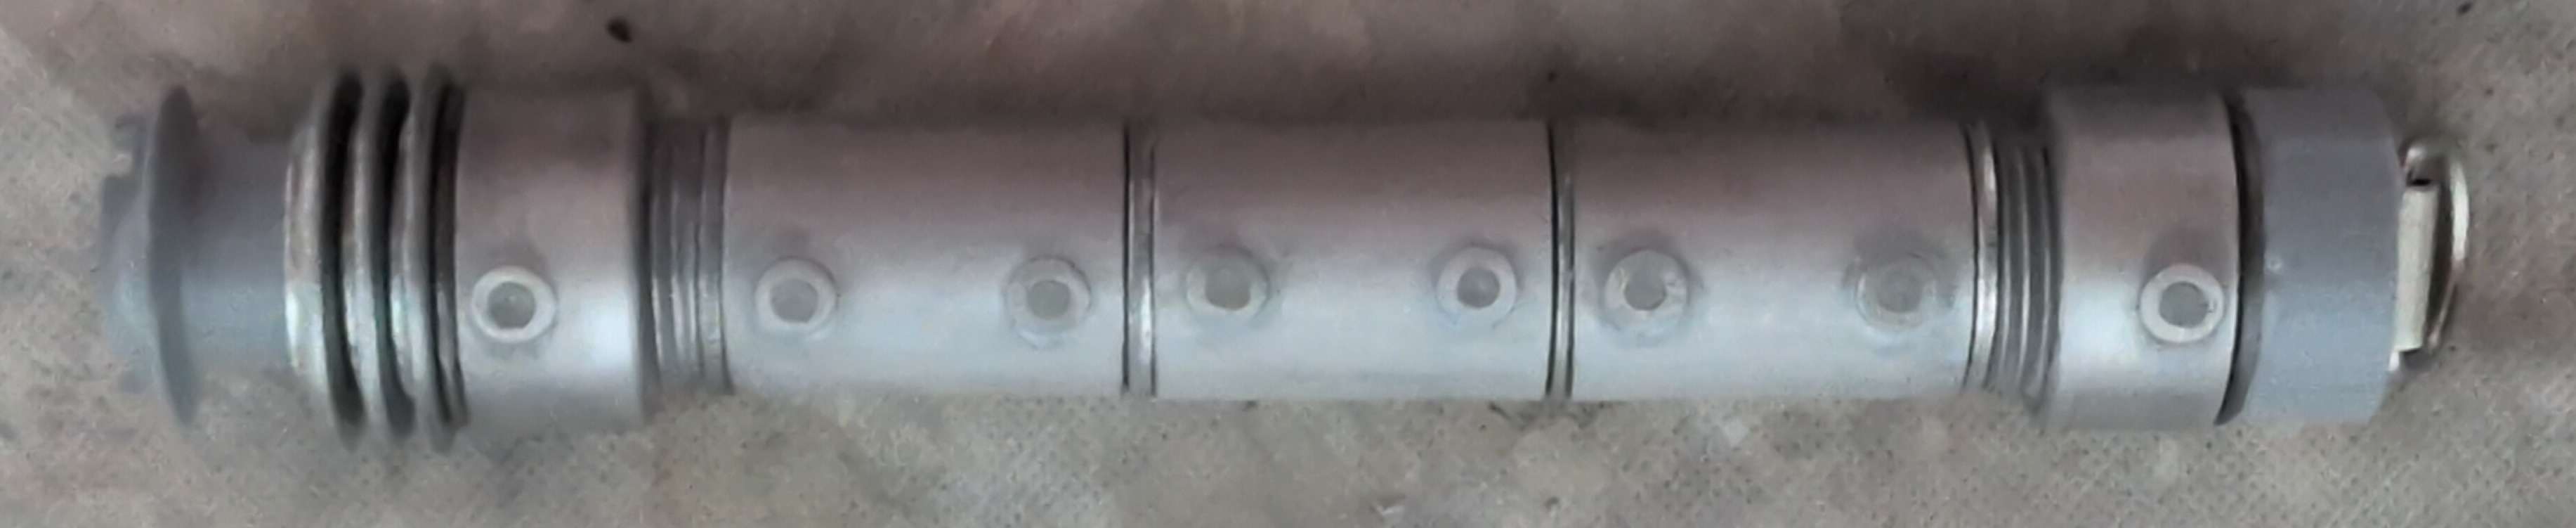
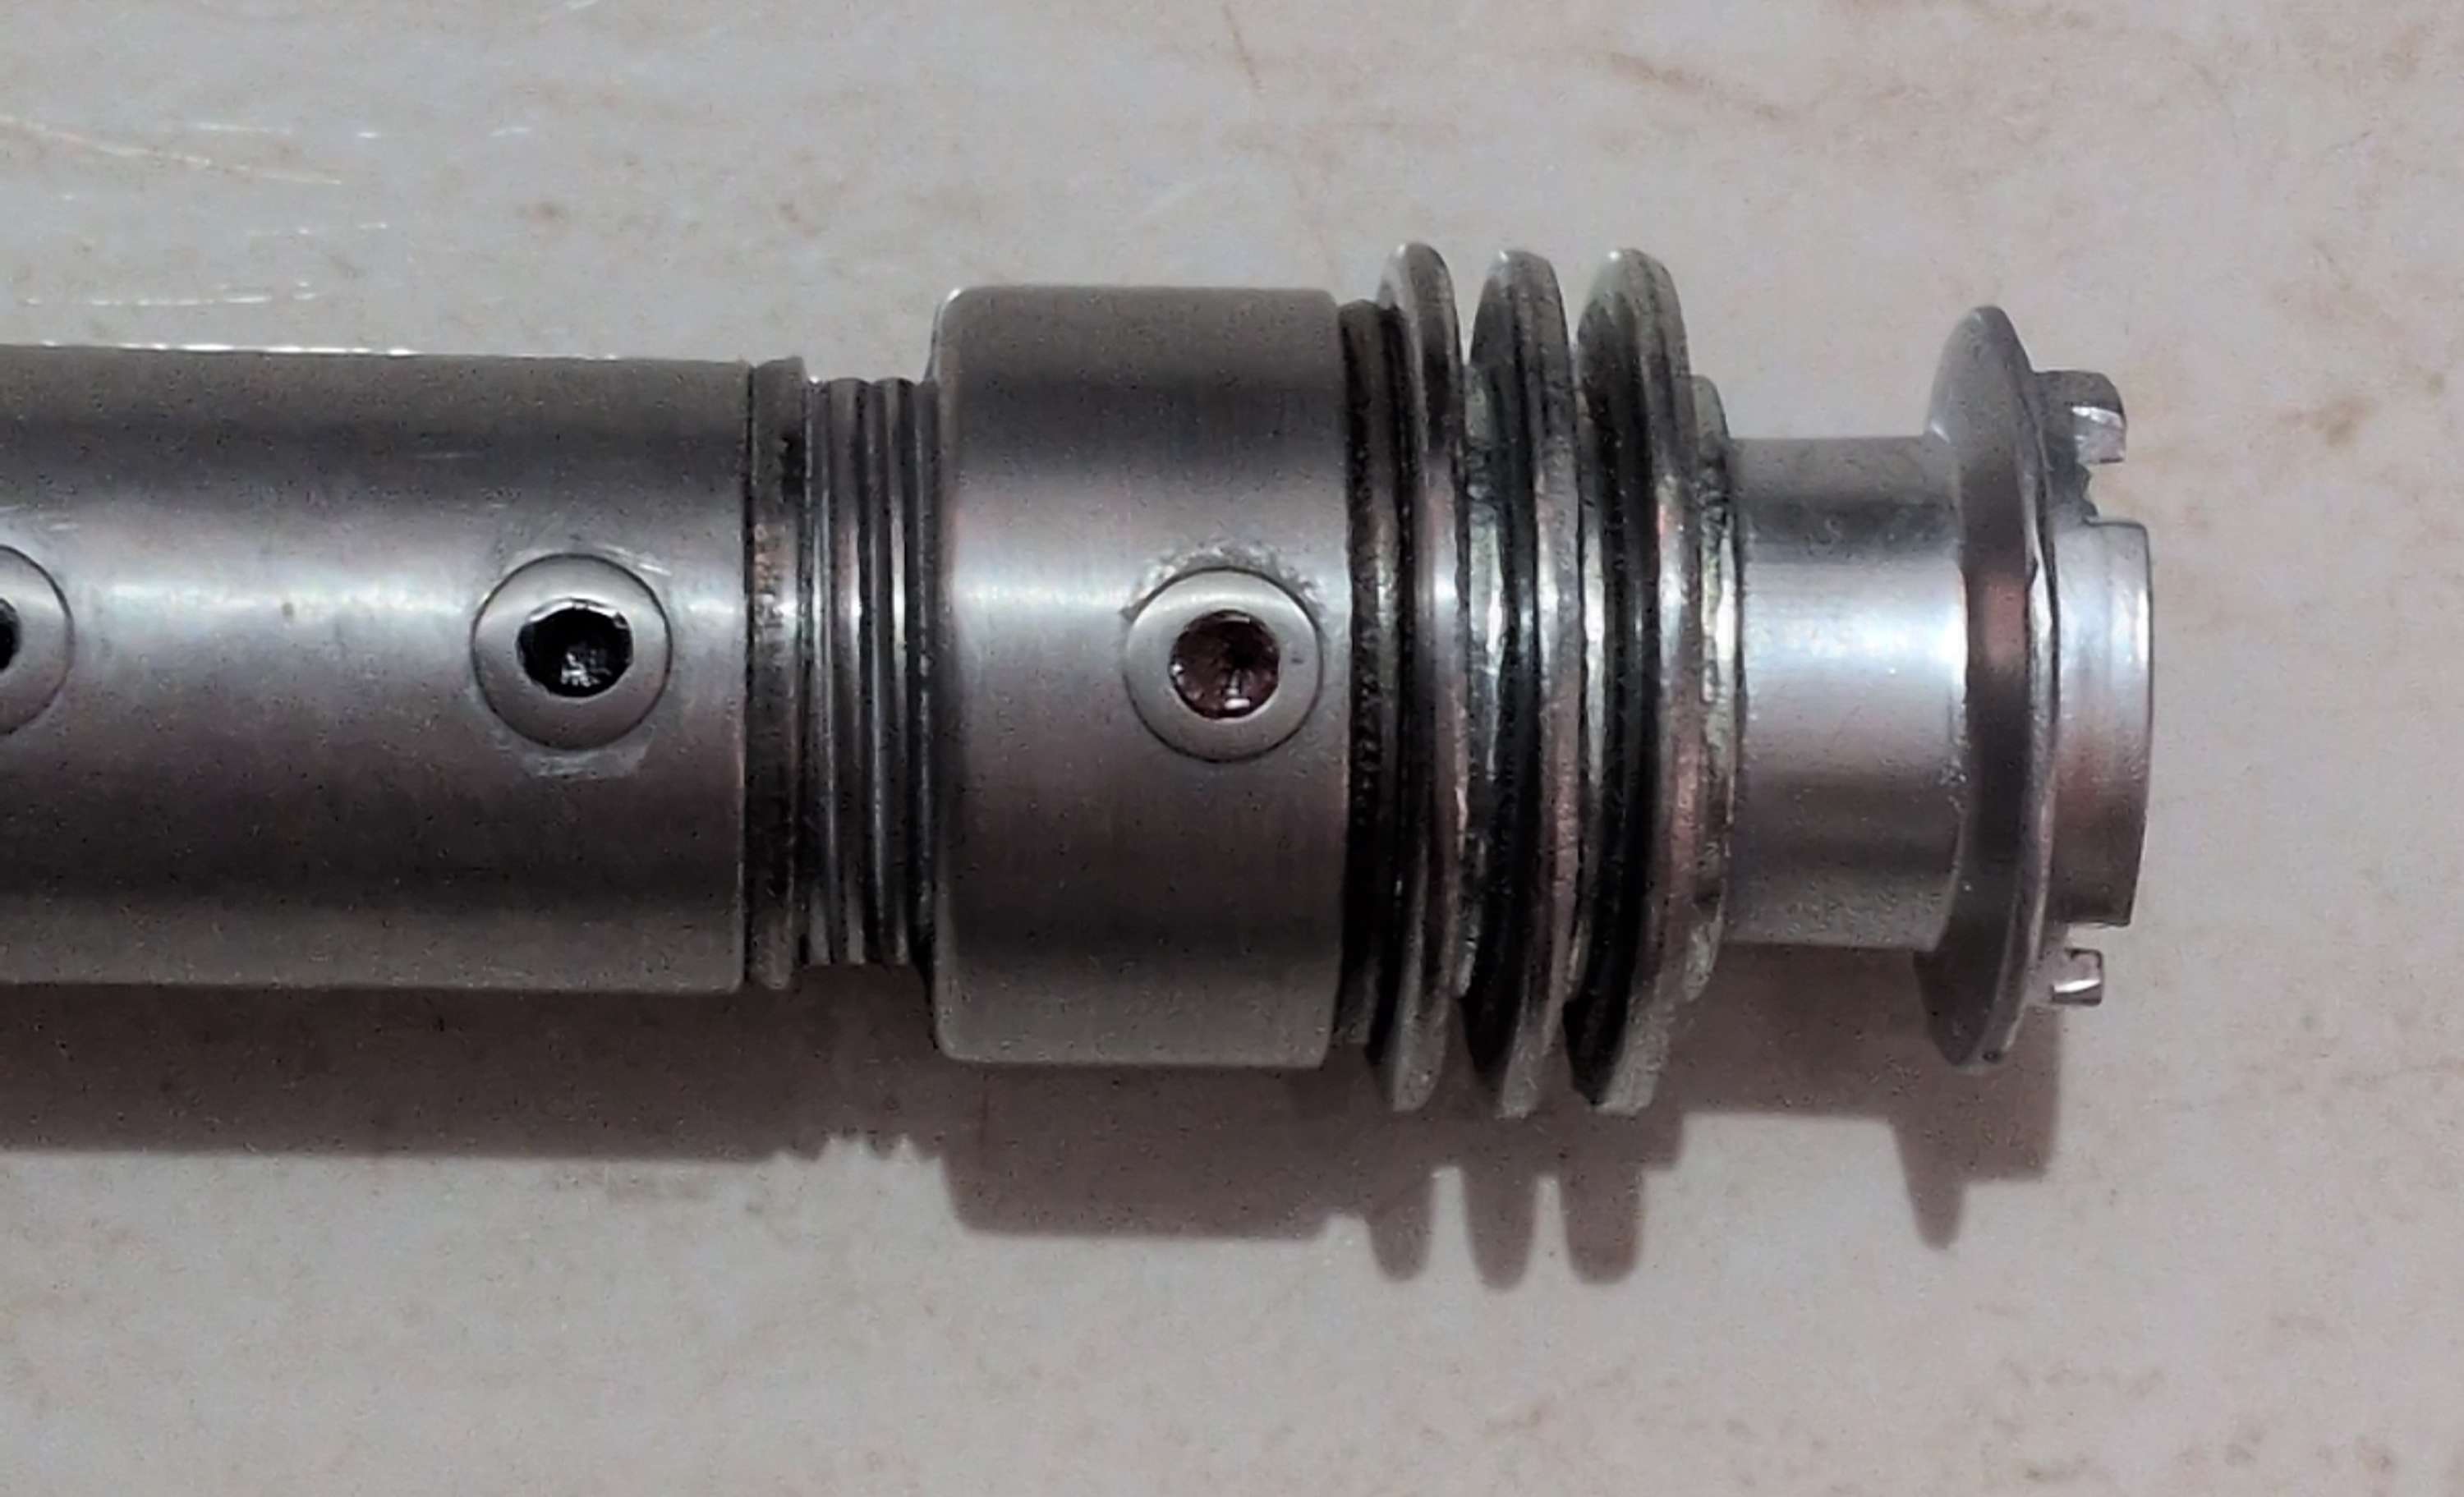
I sanded the ends of each fitting and the faces of each washer to get them to sit straight between the two compression nuts on either end. I used 120 grit sandpaper, dry. While it didn’t look like I removed a lot of material, it greatly improved how everything fit together. Once, all the washers and fittings were sufficiently pressed together, I started sanding off the letters, numbers, and seams. I found that folding the sand paper over a piece of wood helped to sand down the raised surfaces faster. I found an old incense burner amongst the scrap wood, but I would imagine in sufficiently thin piece of wood could work.

To help blend everything together, I tried to sand parts in the same direction. The wider fittings I sanded along the circumference. The thinner fittings I sanded longitudinally. Later, after attaching the pommel and emitter, I went back and sanded the handle circumferentially as well. The 120 and 150 grit sand paper I had on hand left noticeable scratches in the surface, and left it looking unfinished. At the recommendation of my father-in-law, I bought some wet sand paper. 600 grit with a little bit of water worked wonders on the wider fittings, but the main handle still looked rough. After some trial and error, I found that using the sandpaper-on-a-stick method with 150 grit worked well to both remove the scratches and give a multi-faceted texture. I then finished it off with a 600 grit wet sanding.
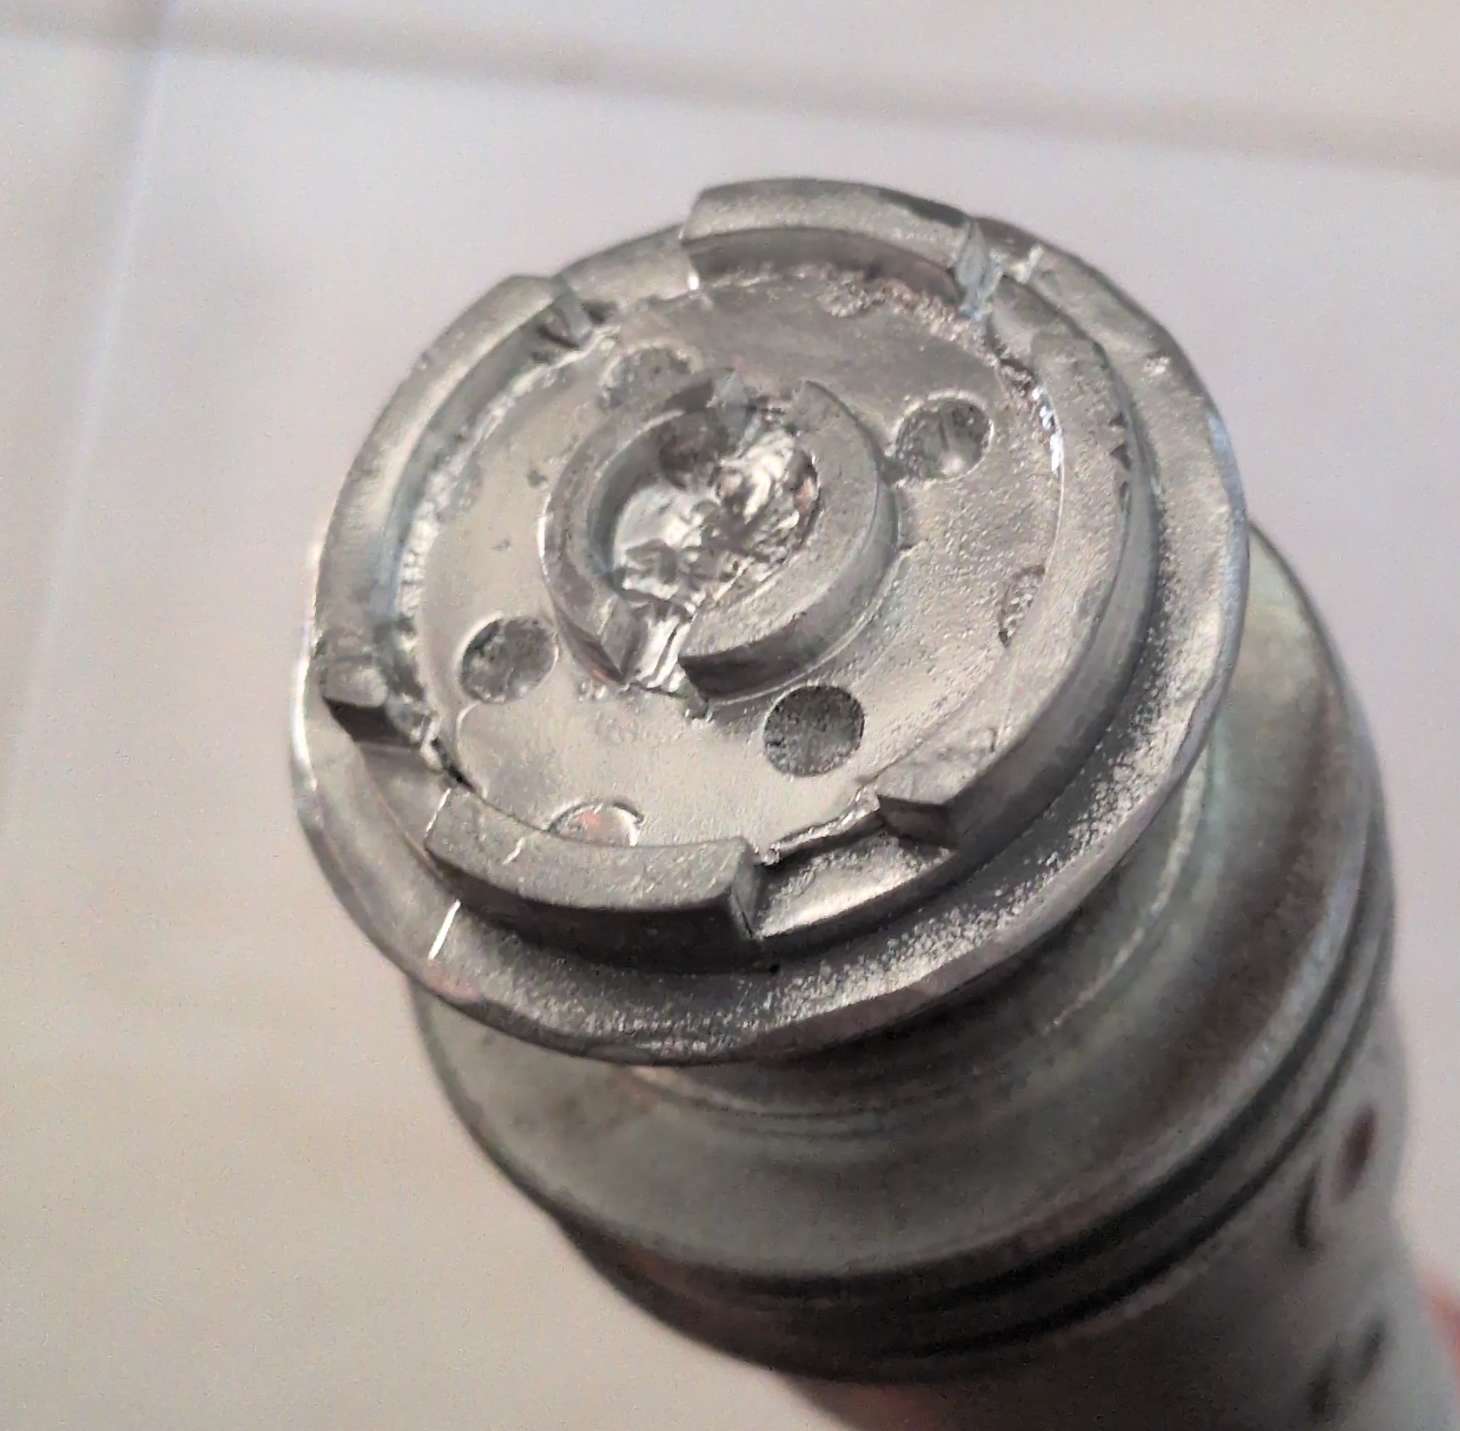
The emitter was pretty simple. It’s a plastic fitting (don’t ask me it’s original purpose, I really couldn’t figure it out) with the middle piece of a plastic sink drain plug set inside of it. The drain plug, fitting, and compression nut all slid together snuggly. I secured them with some epoxy to reinforce the connection, but it came together well. If I was in the US, I don’t know if I would have been able to find these parts; Brazil seems to have a greater diversity of plastic plugs and spigots than I’ve ever seen in Home Depot. I intentionally chose plastic knowing it would be easier to cut and sand to meet my needs than anything else.
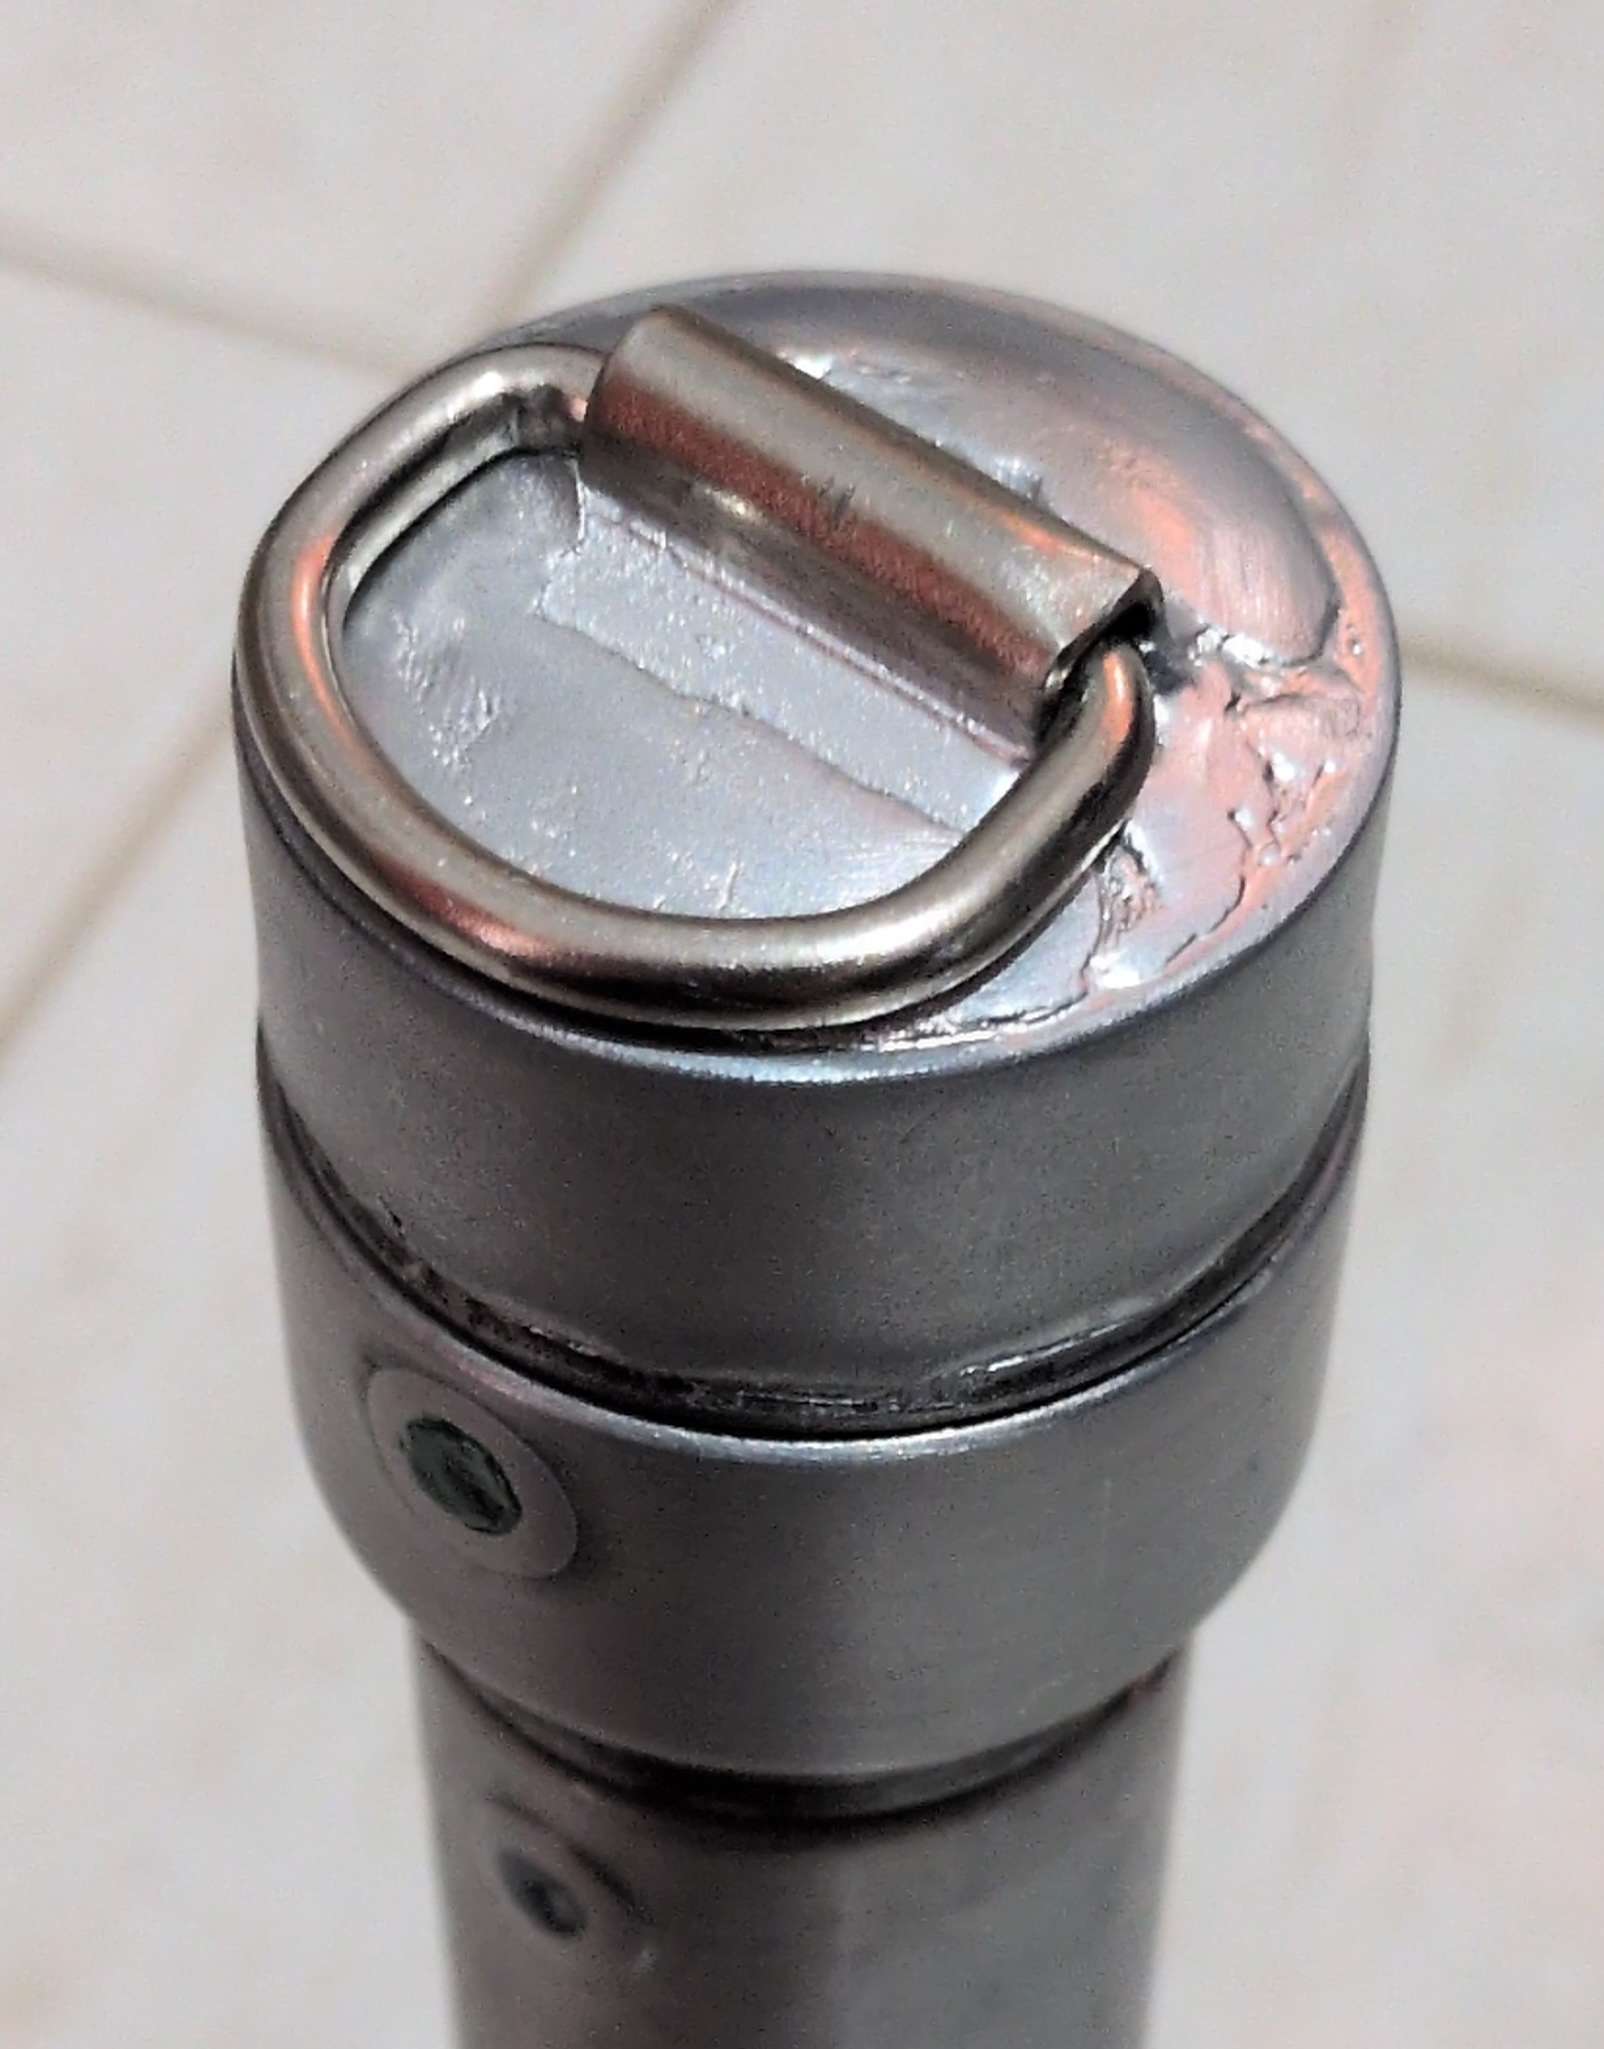
Finishing the pommel was a fun challenge. I wanted to add some way to hang the saber hilt from a belt. Googling images of the original film props, I found two canonical methods to hang lightsabers. The most common is to have a stud stick out the side of the hilt which fits into a slot mounted on the belt; it’s like the inverse of how clocks hang on a nail using a slot with a wide and narrow end on its back. The second method, which I only saw on Luke’s/Anakin’s lightsaber from Episodes 4 and 5, is the simple D-ring mounted on the end of the pommel. I opted for the D-ring style as I thought it would be easier, both to attach to the hilt and to make a clip for a belt.
Here’s a photo of my initial attempts to think through the design.
My chosen hardware store didn’t have any D-rings, but they directed me to an awnings and sign shop on the other side of town. This was another benefit of doing this project in small-town Brazil. One, I was able to walk to all these locations. Two, the locals were able to give good advice and directions as I inevitably got lost following verbal directions. The awning shop had the vibe of three guys that knew how to make awnings and signs, but lacked all polish of a larger chain. I showed them a floor anchor as an example of what I was looking for, and they ended up spilling a jar of miscellaneous parts on the ground to find a suitable option. I’m not sure if it’s because it’s Brazil or if it’s because it’s a small town with locally owned shops, but I really enjoyed the informality of the arrangement.
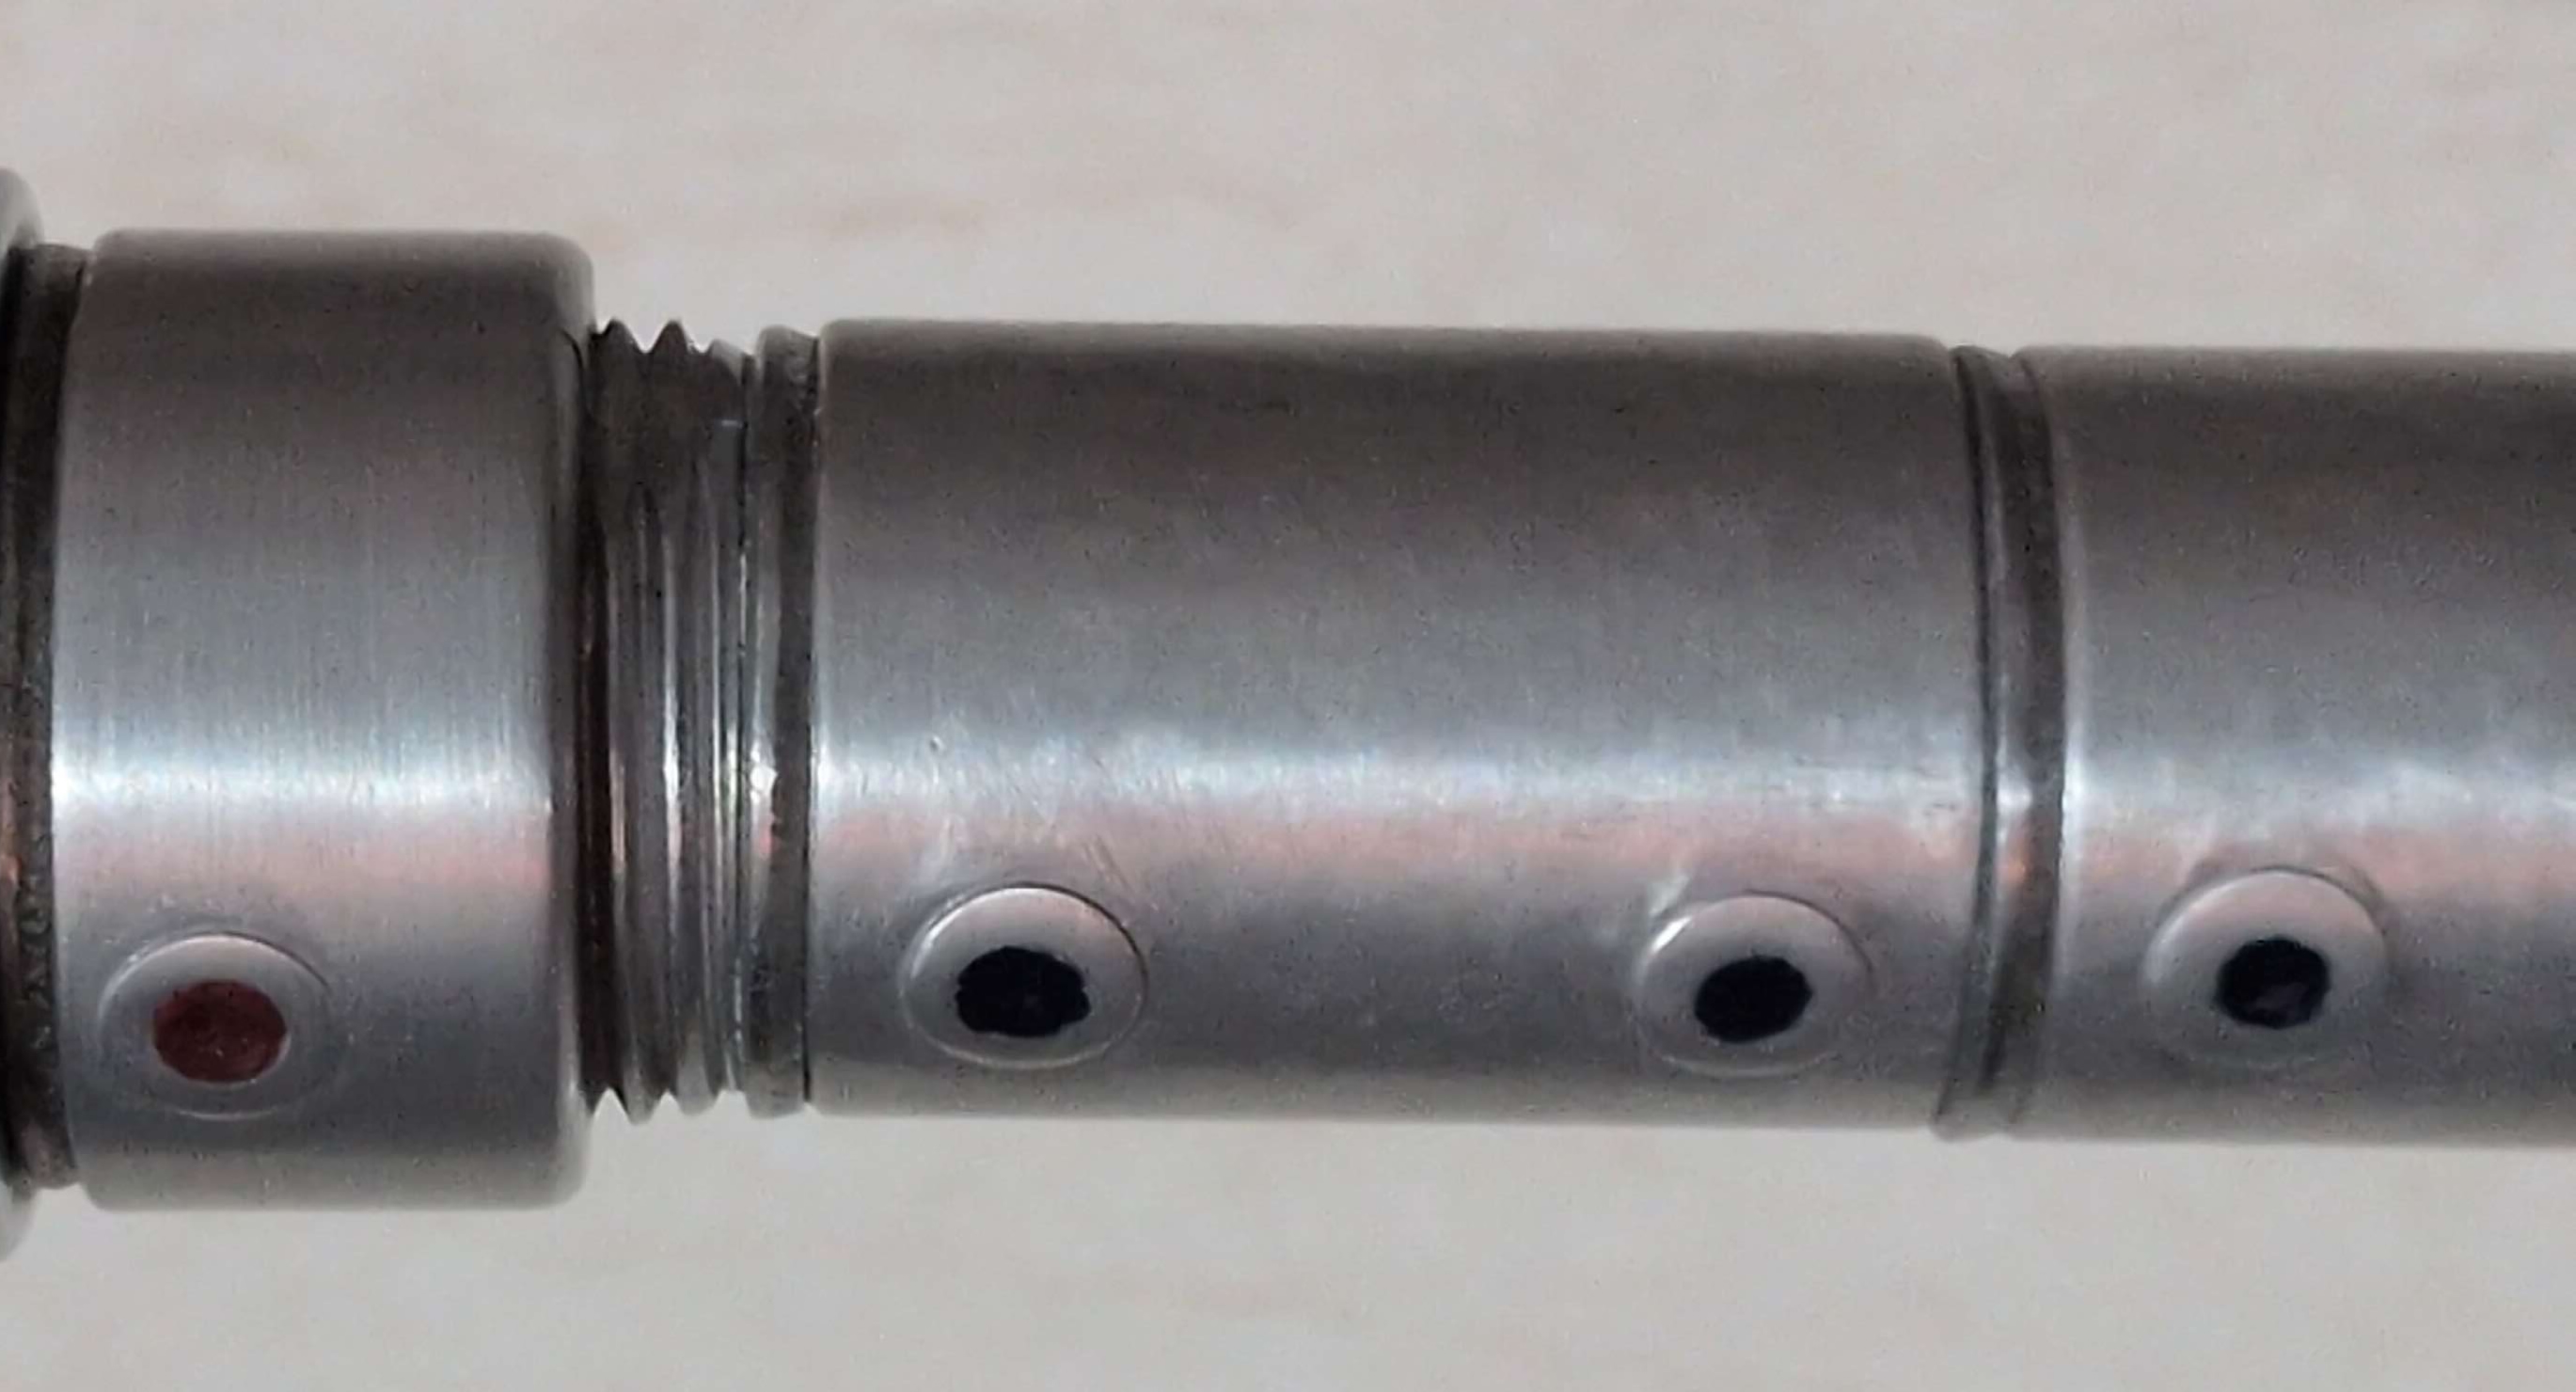
I walked away with two D-rings with flat metal strips suitable to anchoring the rings to the ground. Using pliers, I folded the first strip in half but found it wouldn’t sit center in the pommel. I ended up folding the second D-ring such that the strip pinched either side of the compression nut. I cut down the second plastic fitting into a smooth cylinder, placed it around the nut and D-ring anchor, and packed it full of putty epoxy. I thought the space was eating a surprising amount of epoxy, until I realized it was just squeezing out somewhere else. I thought sanding the epoxy would have done more, so I left the source a little rough. Sanding did not remove as much material as I would have liked, but I hoped that painting would help hide the defects.

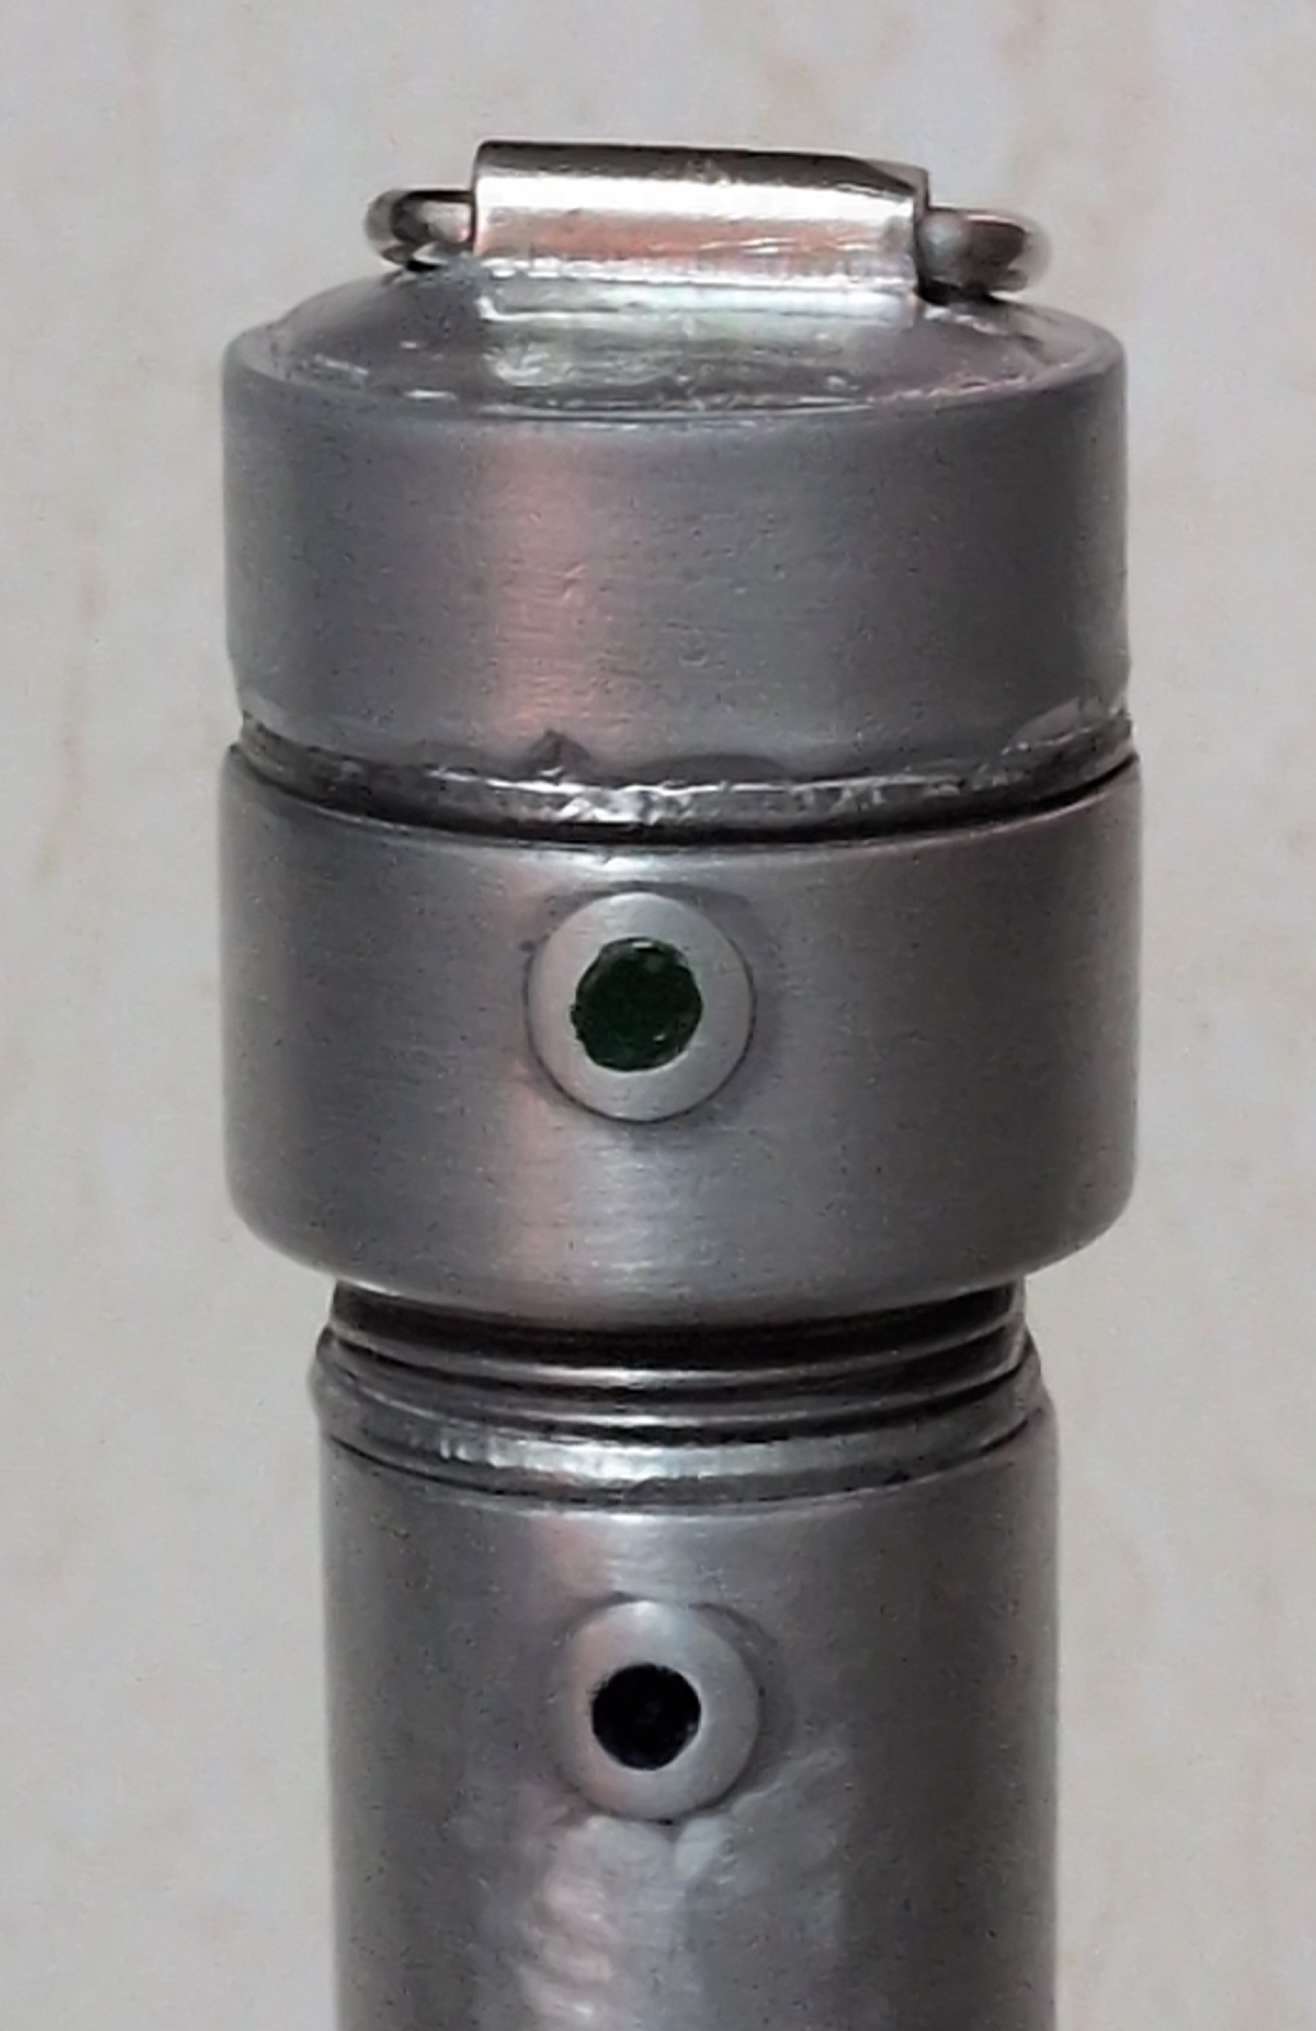
It was at this time I also packed epoxy into the screw holes in rest of the hilt. Unlike the first lightsaber, I sunk the epoxy just below the edge of the hole. This made for a neater epoxy job and later guided the painting finishes. This was when I realized I didn’t like the rough finish on the hilt and spent a day going back over it.
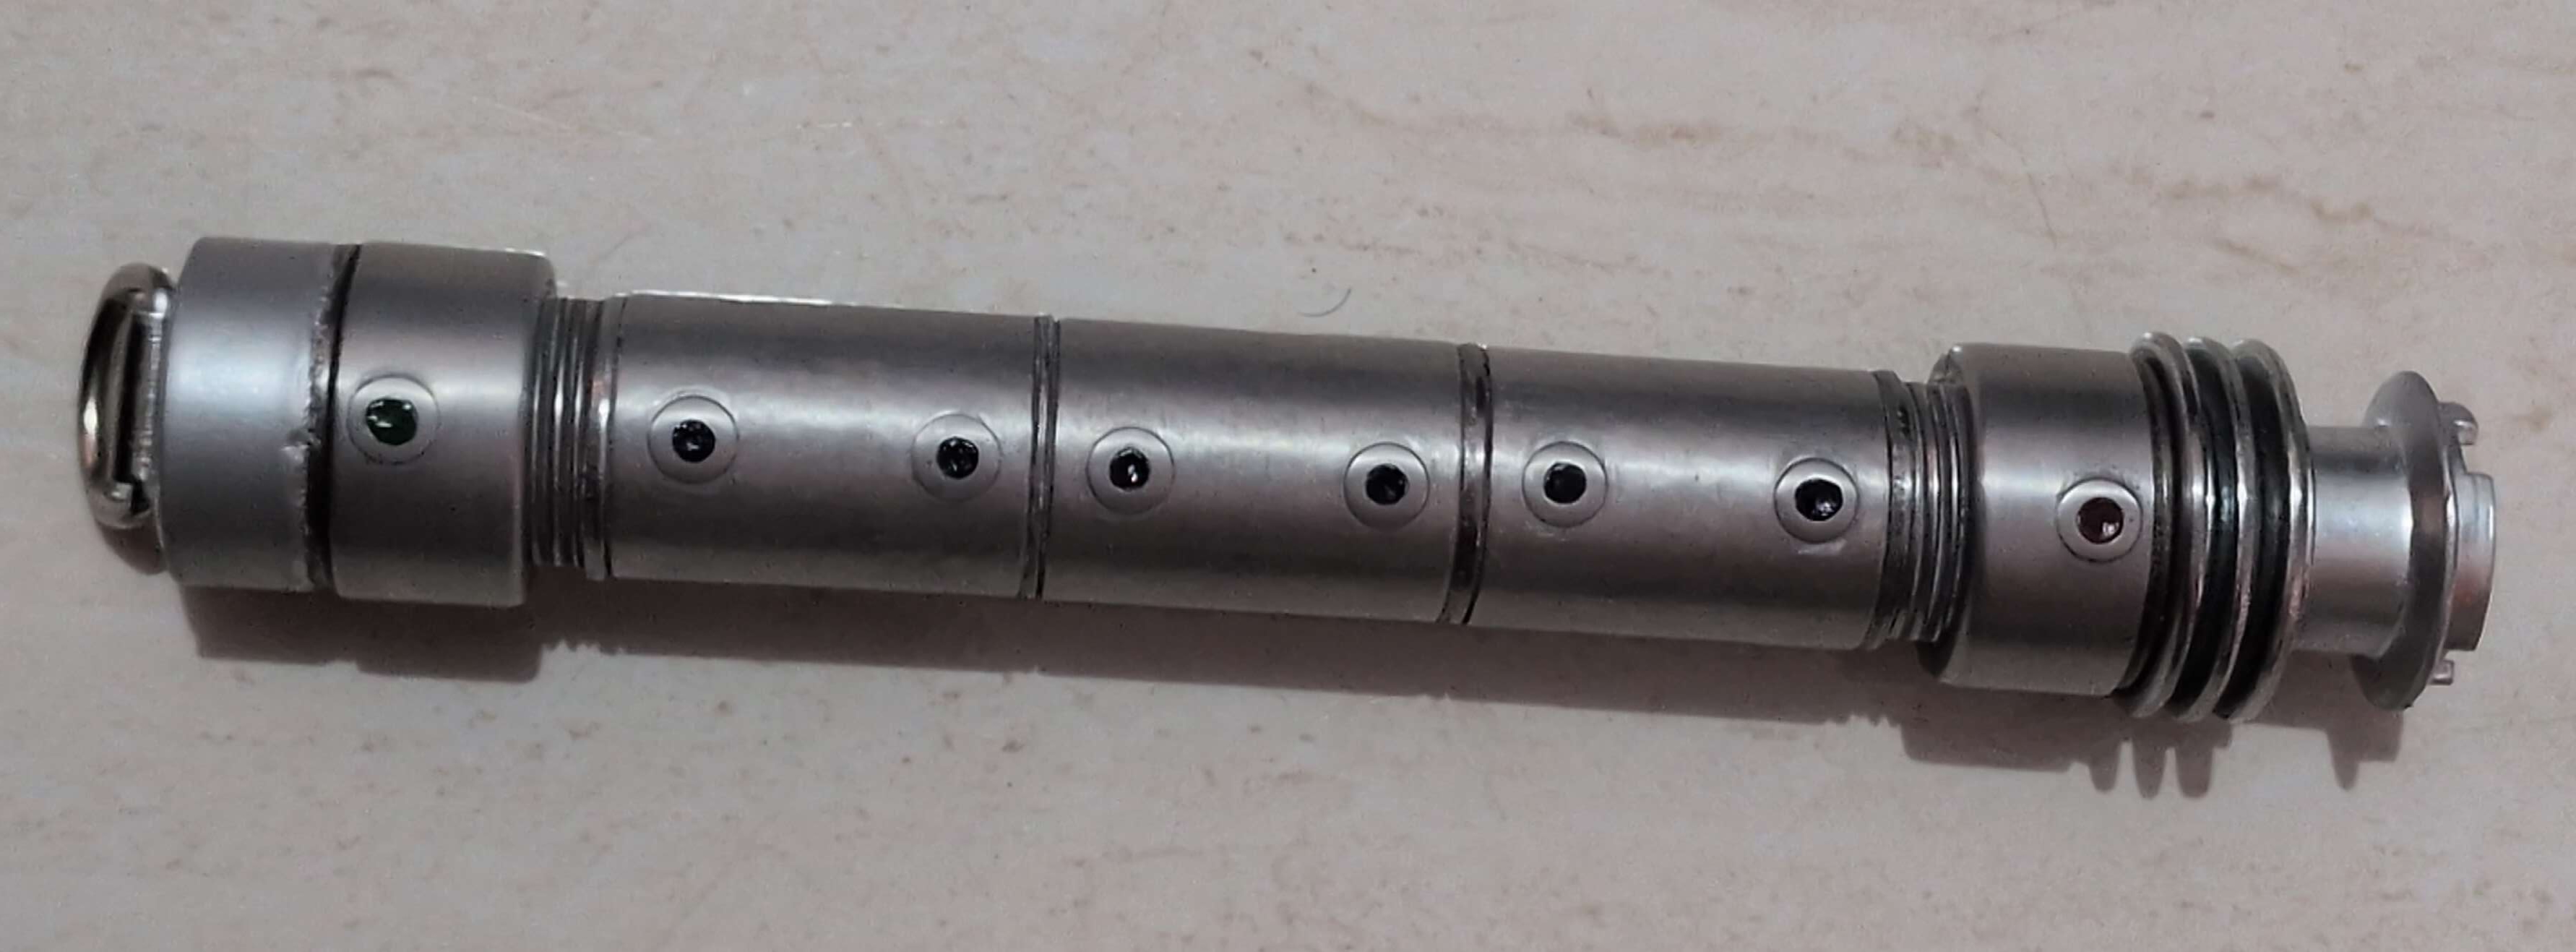
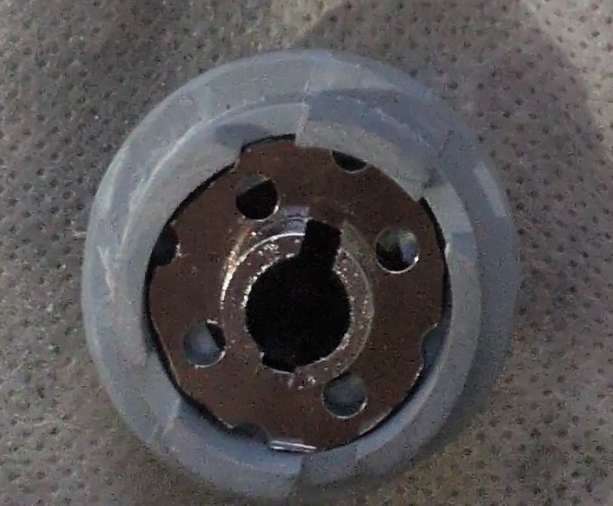
Along with the wet sand paper, I also a couple rattle cans of primer and metallic paint. I used a plastic bag and masking tape to cover up the real metal, hung the hilt by it’s D-ring from a clothes lines, and put a generous coat of both primer and paint on the plastic parts. I’ve never spray painted something before, so I had no idea how thick to put it on or how long to leave it out to dry. There are definitely some finger prints in a couple spots where I touched it before realizing it was still a little wet. The color doesn’t match perfectly, which is particularly noticeable at the pommel, but from a distance it looks pretty good! It’s definitely better than my first attempt at color matching using nail polish. I did use nail polish on the buttons though. The camera doesn’t capture it well, but the button closest to the emitter is red, the one on the pommel is green, and the rest are a dark blue.
This saber is significantly lighter at somewhere around 2-3 lbs. It also meets the canon length of 10-11 inches long. It is much more comfortable to hold than the first model and, for me, hits the right balance of sci-fi greebling and functionality.
Thanks for coming along with me on this project. I learned a lot and tried something new. If I knew how it was going to go from the start, it definitely could have been a one-day build, but it ended up being spread out over several lazy afternoons as I felt motivated. I’ll be mailing this hilt to myself in the US. Mailing it will be cheaper than paying for a checked bag, and the cost feels worth it given the amount of time I put into this project. I’m feeling really good about this design. If I do this again, I think I want to explore adding some sort of lighting and blade, but that will have to wait until I get back to the States.
All the best, Akelas.